
Catégories de produit
 Soufflage
Fiche Technique
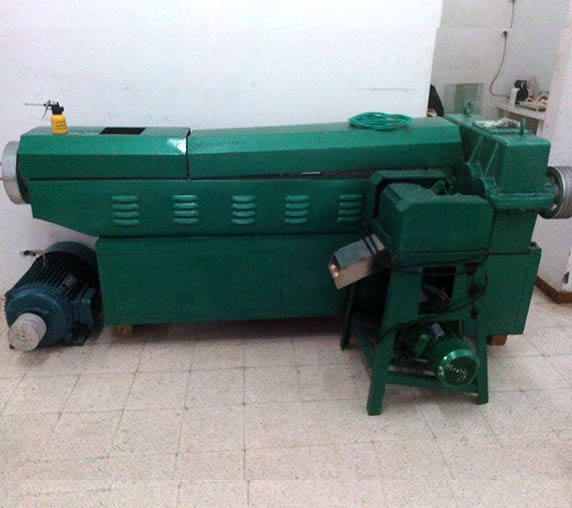
I. Usage and characteristics
With another saying of “Aniline Printing Press”, Flexographic Anastatic Printing Machine adopts photopolymer relief plate as its printing plate. It applies to print on the PE & PP olastic woven sacks, the cellophane and the web, etc.
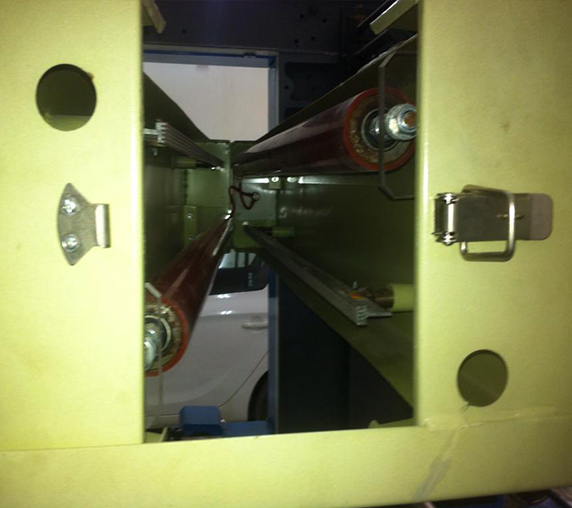
It is six printing colors composing the tetragons with cascading arrange can change coiled materials’ sleeving pattern. lt applies to the patterns ,i.e. six-color printing on the redto, three-color printing on the redto and the other three-color on the verso, two-color printing on the recto and the other o four-color on the verso, five-color printing on the recto and the other one-color on the verse. The material-feeding and material-gathering mechanisms have the tension regulation devices. Each of the six printing colors has opposite-flower device with lateral regulation and 360°continuously adjustable and longitudinal opposite-flower device. The blast drying system and the blow device accelerate the drying of the ink and the discharge of the solvent. The drying box includes the parts among all color cells and the total drying part after finishing printing.
All electric operating devices are concentrated installed in the control box beside the material-gathering rack, which operates conveniently, safely and reliably safe and reliable as well. There’re reset and stop buttons fixed on the pedestal of the six-color printing plate rollers, which is convenient for operating the machine when installing the plates. The main motor, adopting electromagnetic speed-regulation asynchronous motor with stepless speed-regulation, applies to the demands for various printing speeds. Its characteristics are as follows:
- 1.Operating conveniently, starting up mildly and registering color precisely;
- 2.The counter can be set for the printing quantity according to the demands. It also can automatically stop when the material is cut off or it has reached the number.
- 3.The printing plate roller is operated manually. The printing ink will churn up automatically after the roller is lifted and lowered.
- 4.With the cobweb roller transmitting the ink, the ink color is even.
- 5.The reliable drying system matching the high-speed running will automatically.
II. Technical specifications
Main Technical variables
| MODEL | PRINTING WIDTH | PRINTING LENGTH | PRINTING SPEED | PLATE THICKNESS | MACHINE DIAMENSION |
|---|---|---|---|---|---|
| YT-2600 | 600mm | 180-1200 mm | 60m/min | 2.38mm | 2300×1600×2200mm |
| YT-2800 | 800mm | 180-1200 mm | 60m/min | 2.38mm | 2300×1800×2200mm |
| YT-21000 | 1000mm | 180-1200 mm | 60m/min | 2.38mm | 2300×2000×2200mm |
| YT-21200 | 1200mm | 180-1200 mm | 60m/min | 2.38mm | 2300×2200×2200mm |
| YT-4600 | 600mm | 180-1200 mm | 60m/min | 2.38mm | 4800×1600×2400mm |
| YT-4800 | 800mm | 180-1200 mm | 60m/min | 2.38mm | 4800×1800×2400mm |
| YT-41000 | 1000mm | 180-1200 mm | 60m/min | 2.38mm | 4800×2000×2400mm |
| YT-41200 | 1000mm | 180-1200 mm | 60m/min | 2.38mm | 4800×2200×2400mm |
| YT-6600 | 600mm | 180-1200 mm | 60m/min | 2.38mm | 4800×1600×2400mm |
| YT-6800 | 800mm | 180-1200 mm | 60m/min | 2.38mm | 4800×1800×2800mm |
| YT-61000 | 1000mm | 180-1200 mm | 60m/min | 2.38mm | 4800×2000×2800mm |
| YT-61200 | 1200mm | 180-1200 mm | 60m/min | 2.38mm | 4800×2200×2800mm |
III. Installation & Debugging
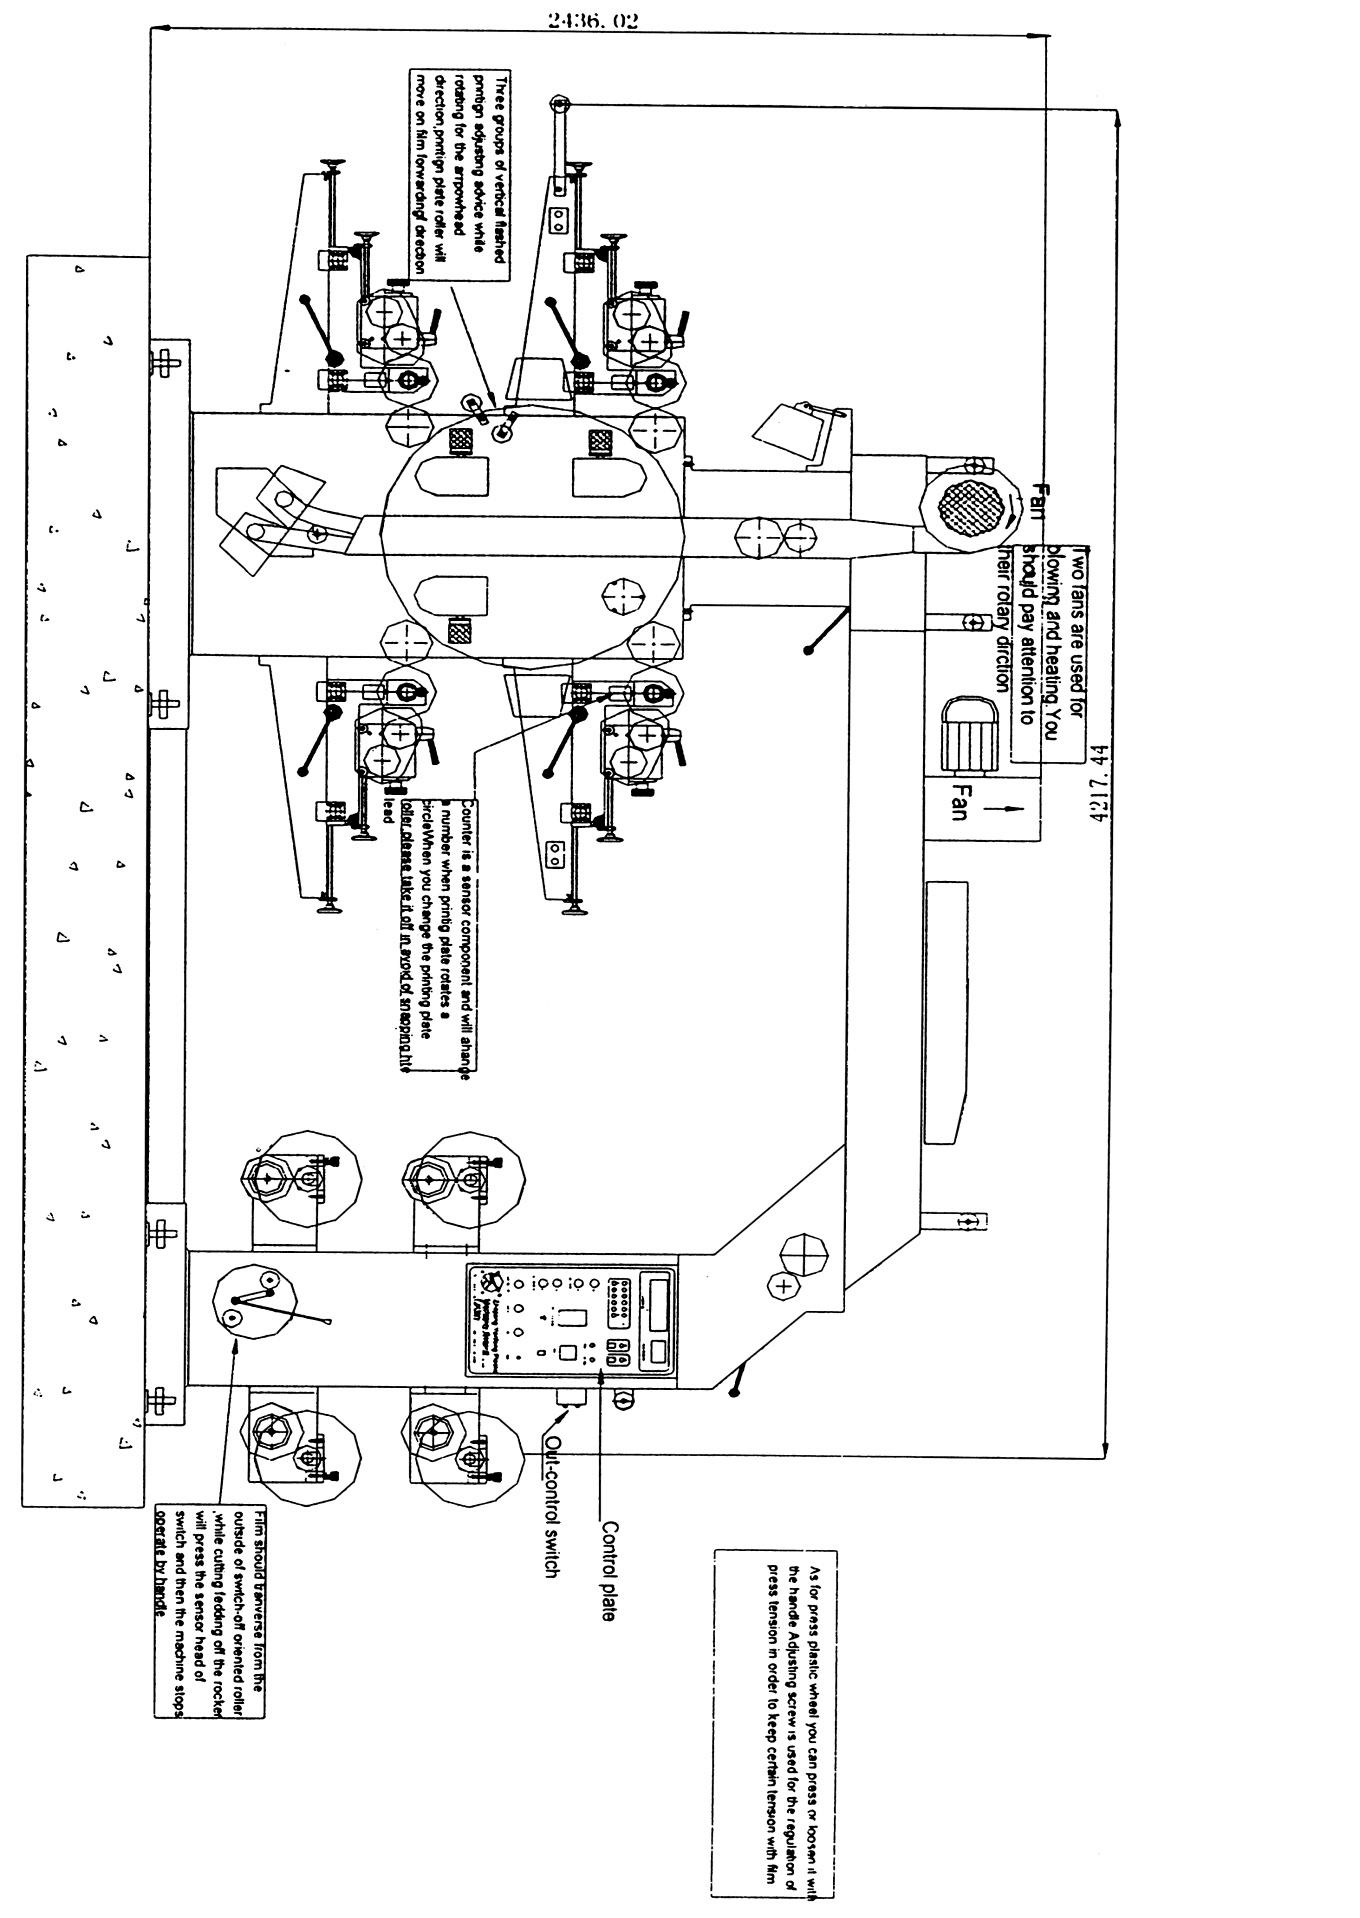
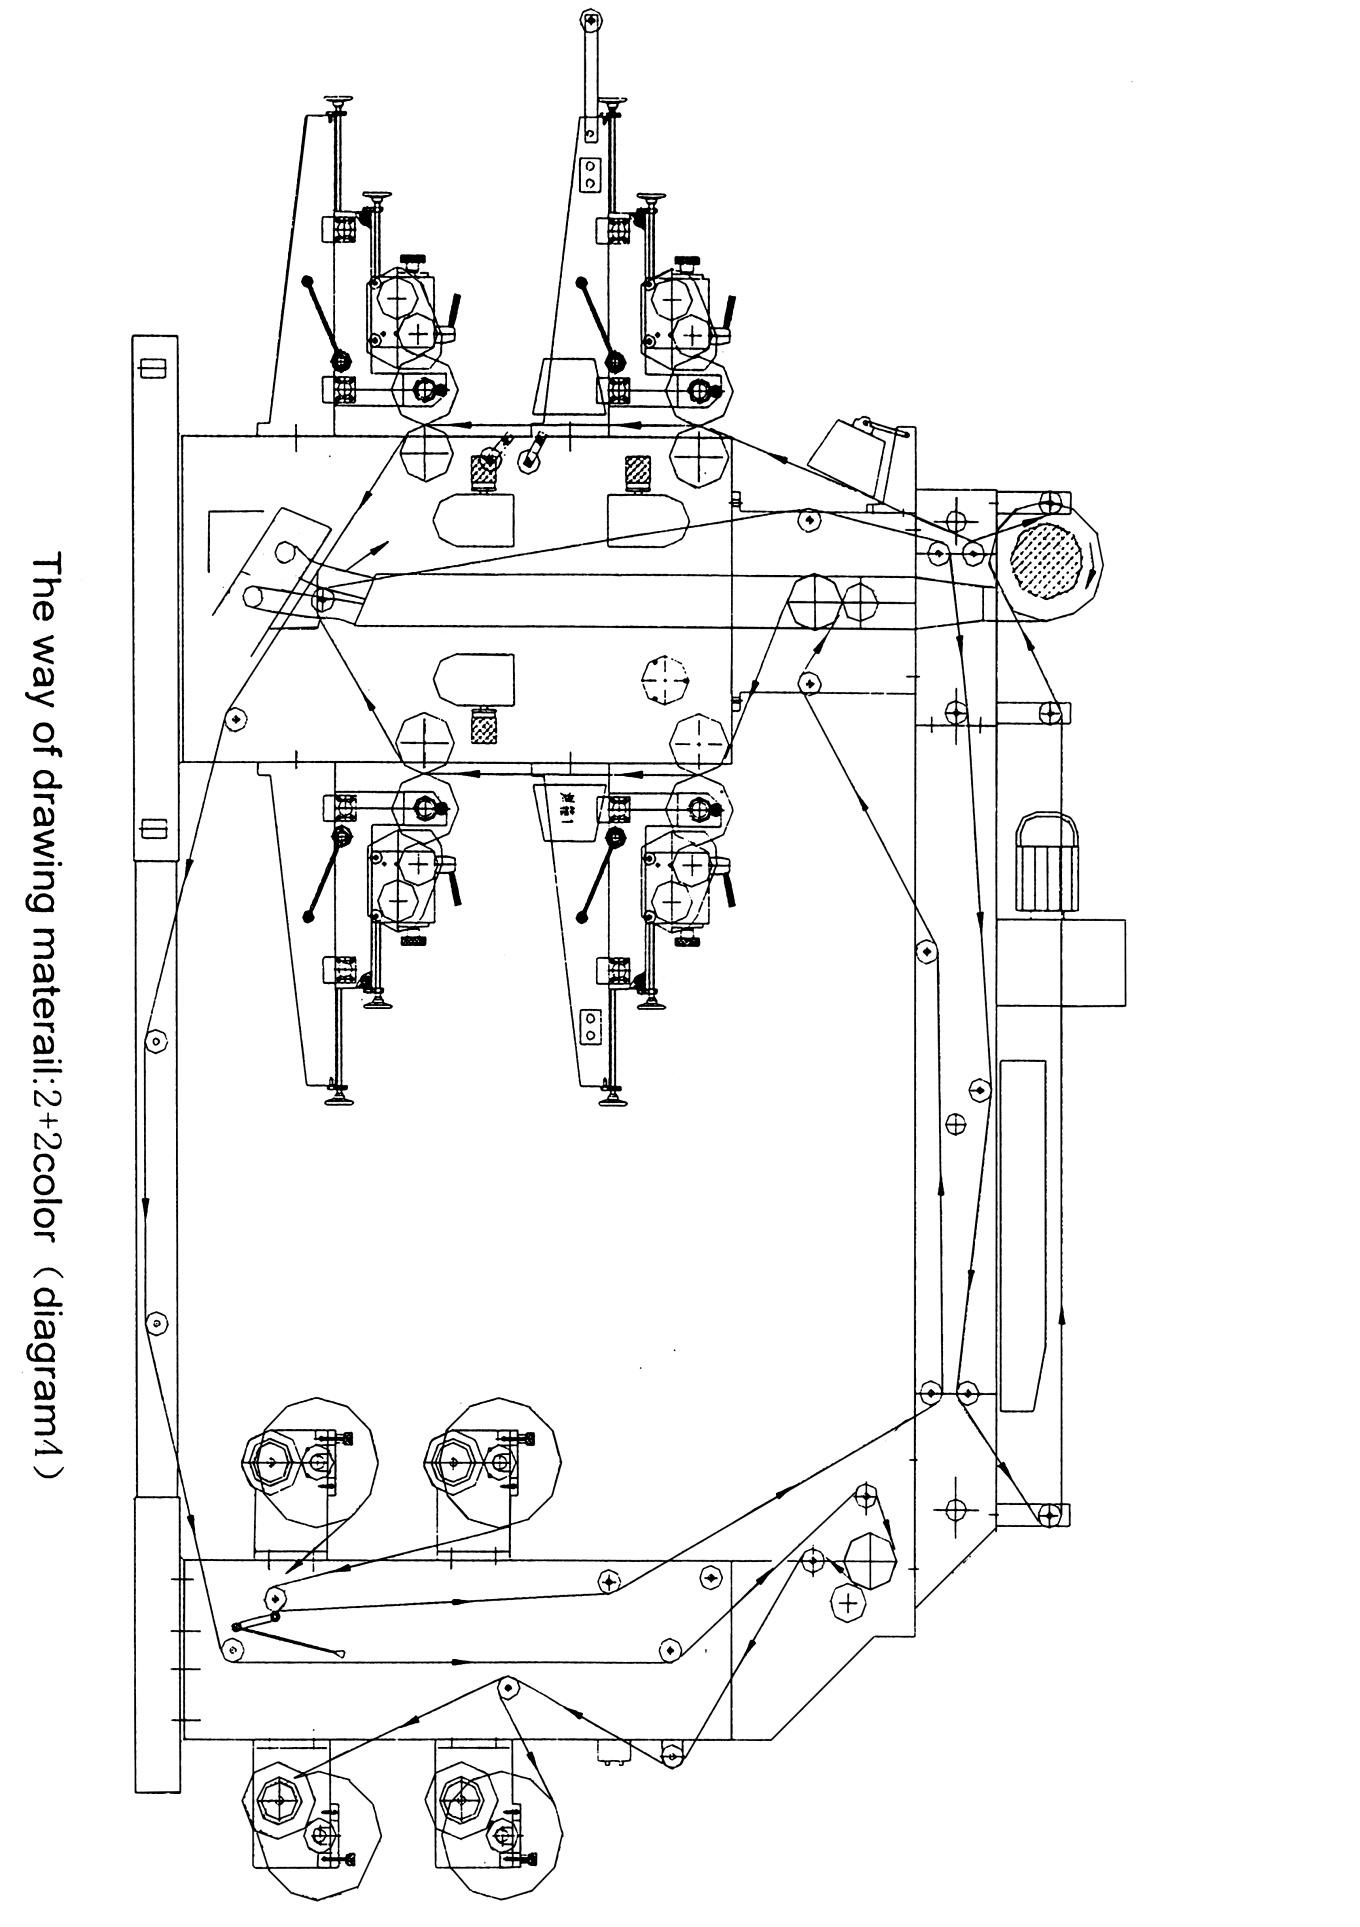
Before delivering, the machines must be strictly checked up and adjusted and can do the object printing according to the demand of the customers. After they’re all eligible, they can be delivered. When the customers open the box, they shall check the spare parts, the tools and equipment according to the casing bill. The machine must be put on the flat cement ground or the firm floor. Then adjust the four lateral regulation bolts, check the lateral and longitudinal levels and tighten the screws.( See Diagram 1 ) Before the trial run, eliminate the antirust oil and operate the machine manually. If there’s no abnormal noise and it runs flexibly, it can be switched on for the trial run. At this time, check whether the rotational directions of every motor and the fans are correct or not. If they’re all right, continue running for a while. After everything goes well, it can be put into production.

IV. Regulation & Operation
1. The key of operating machine is getting familiar with the functions of every mechanical part.(See next diagram)

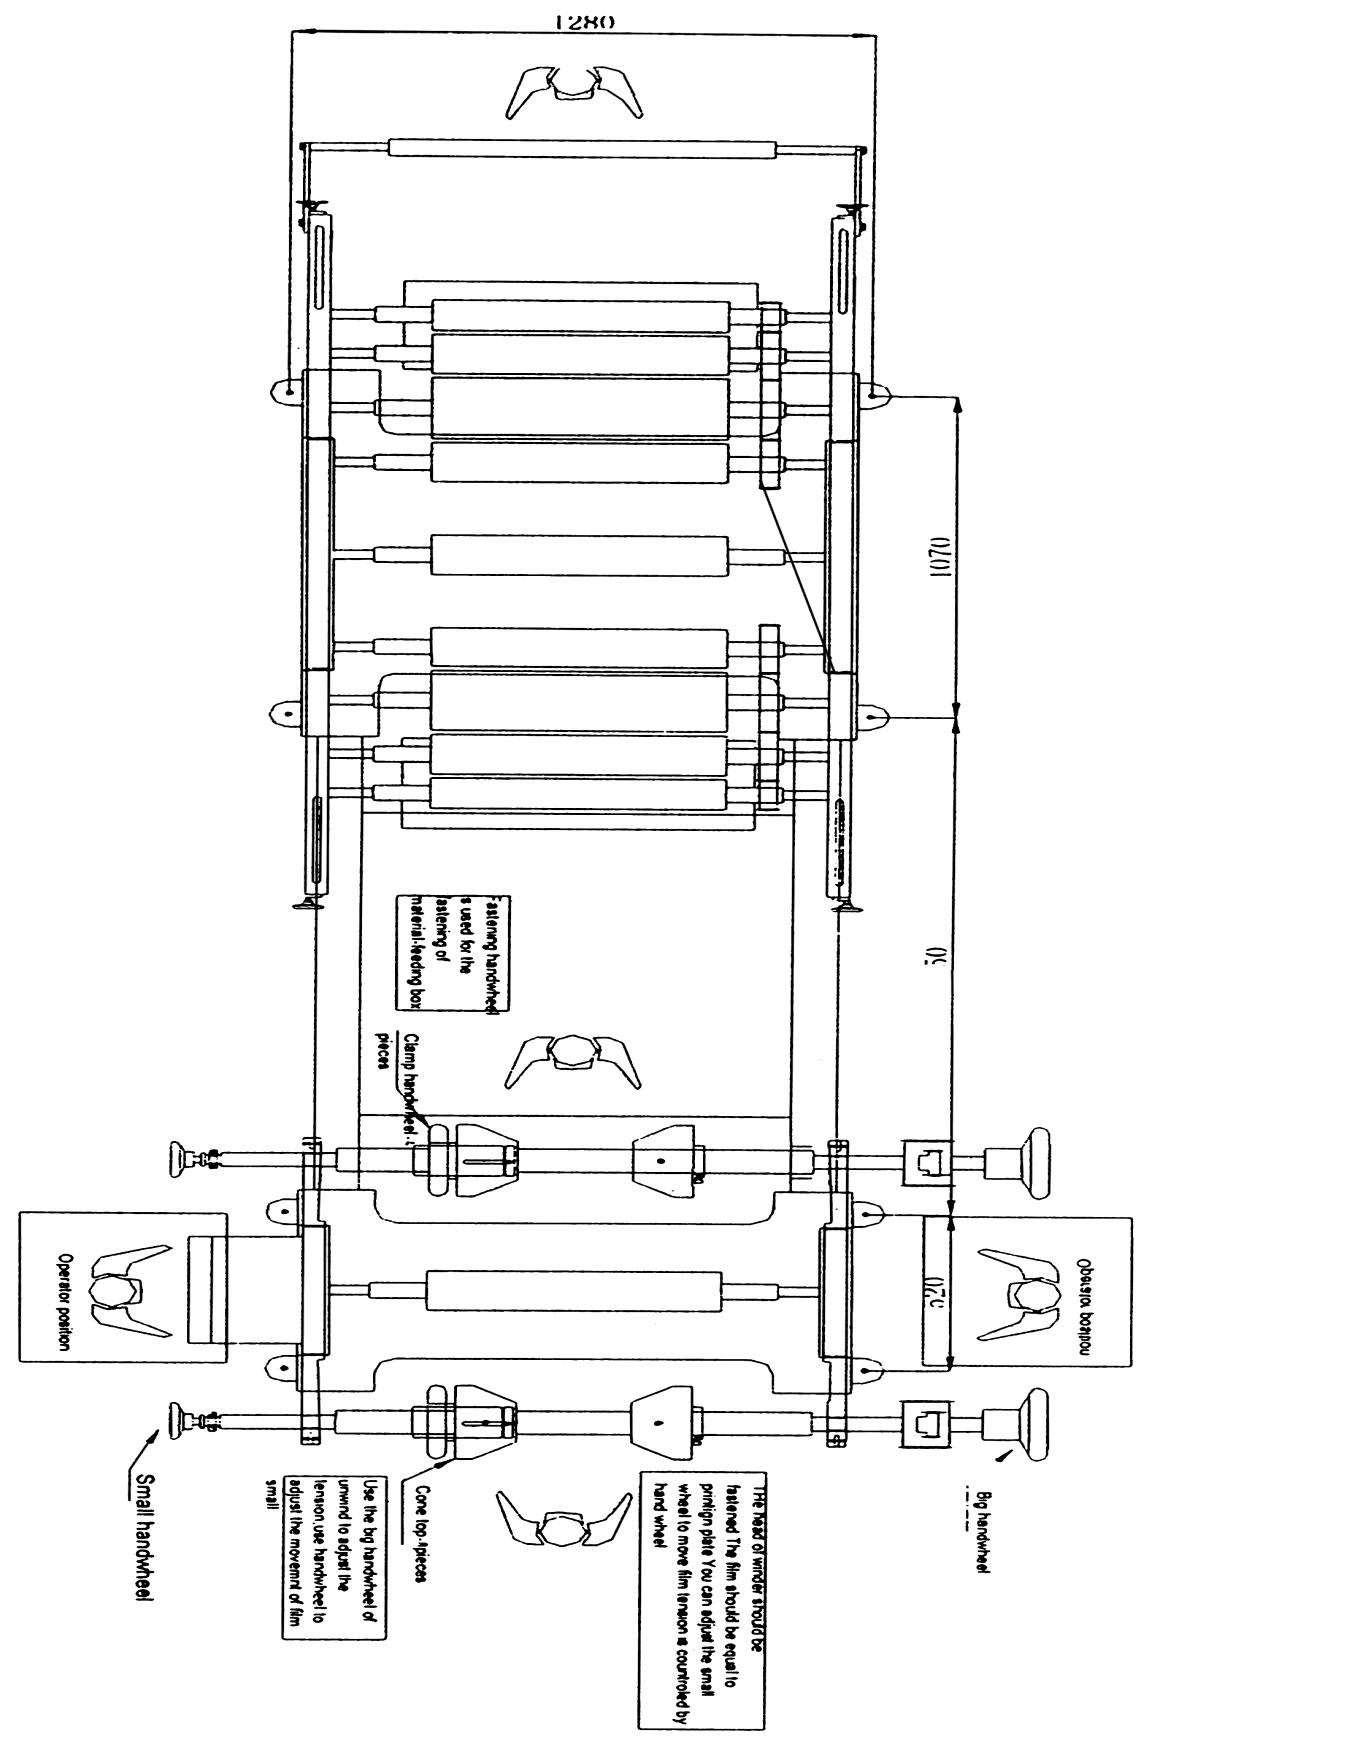
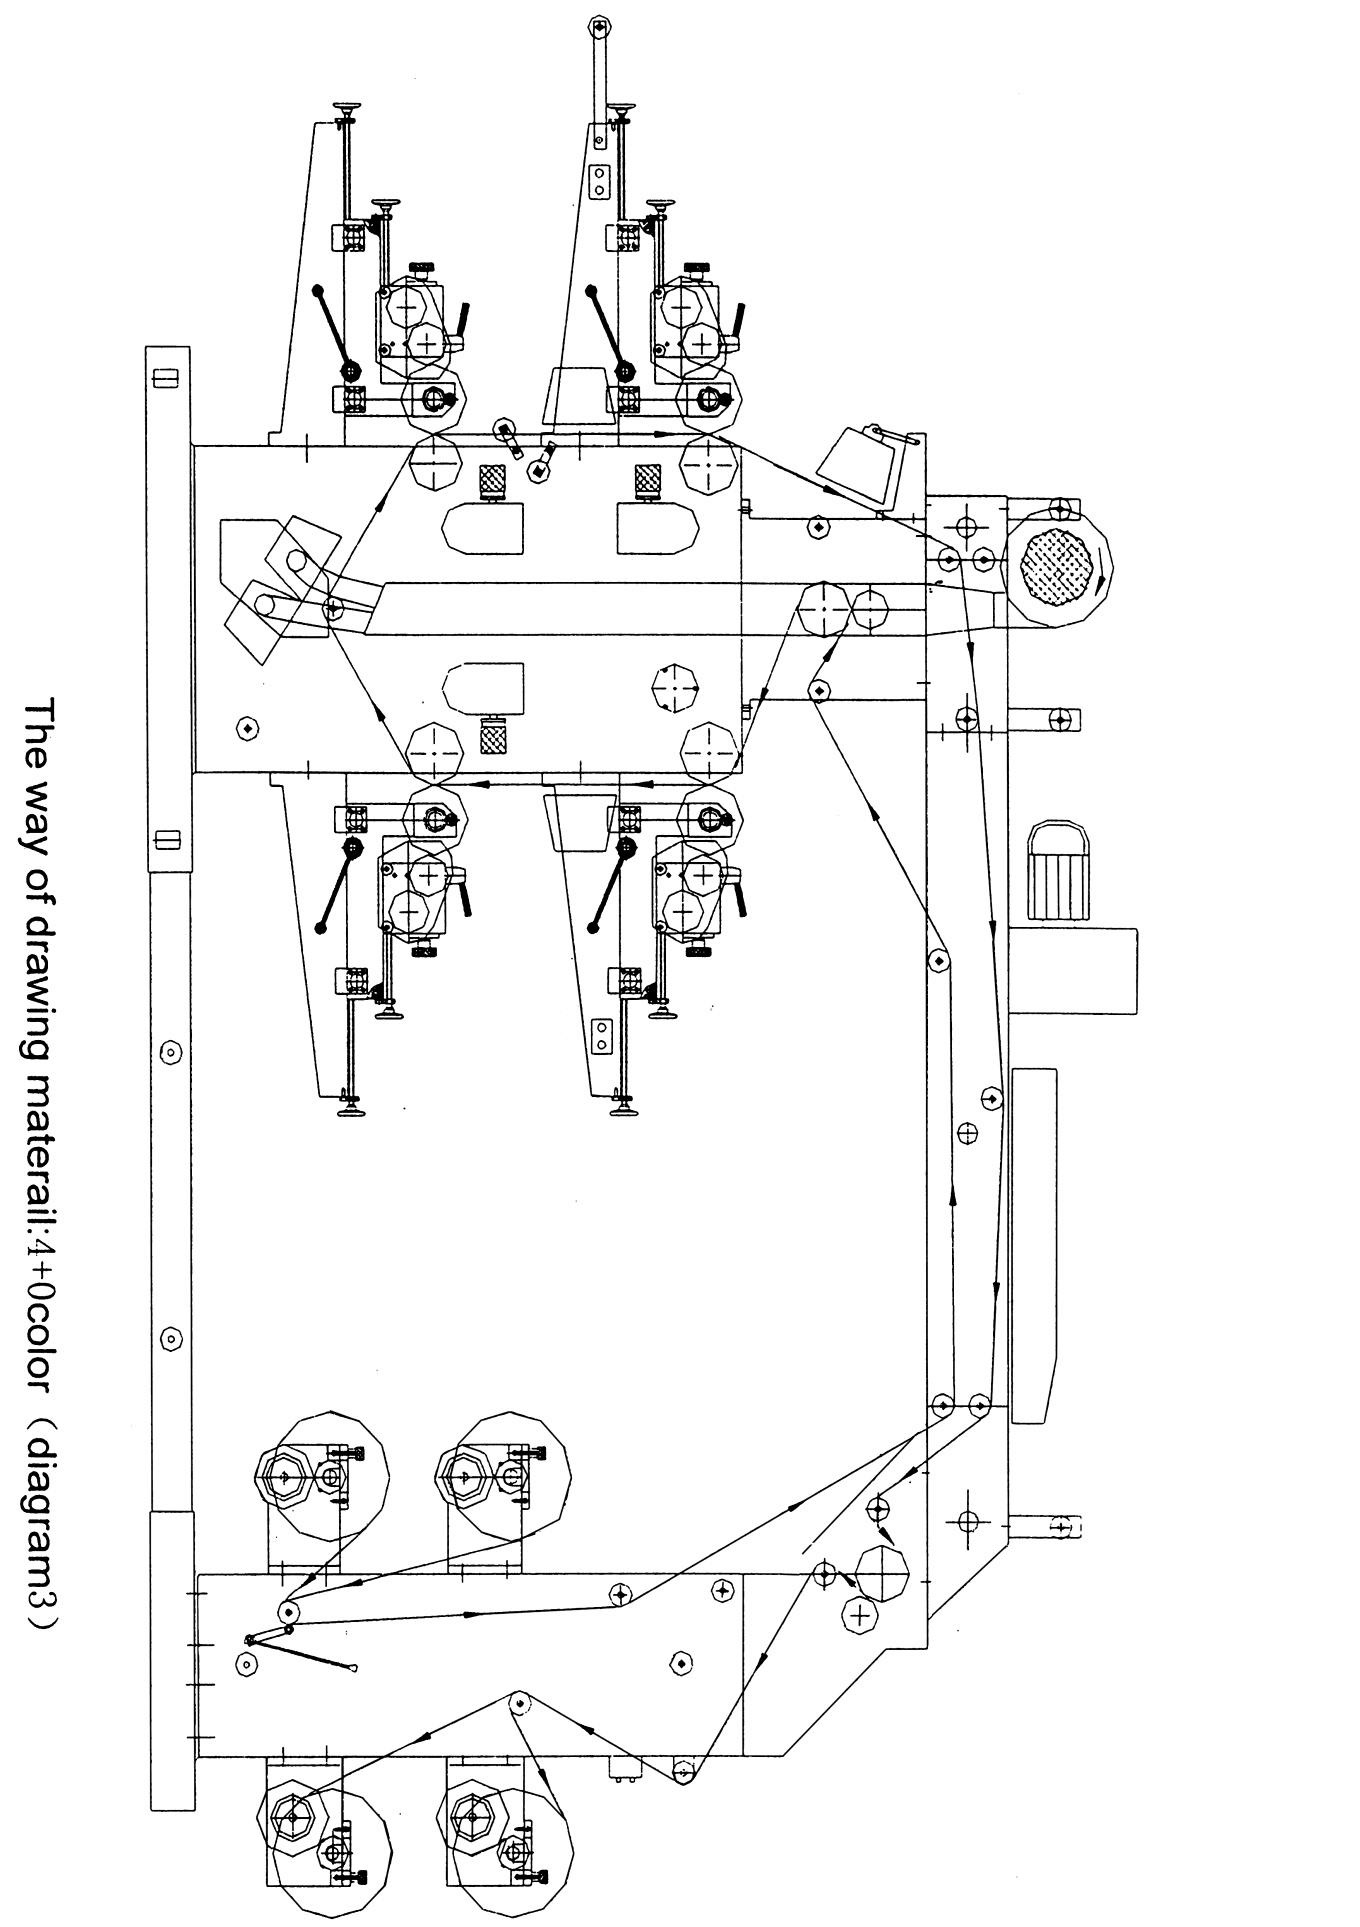
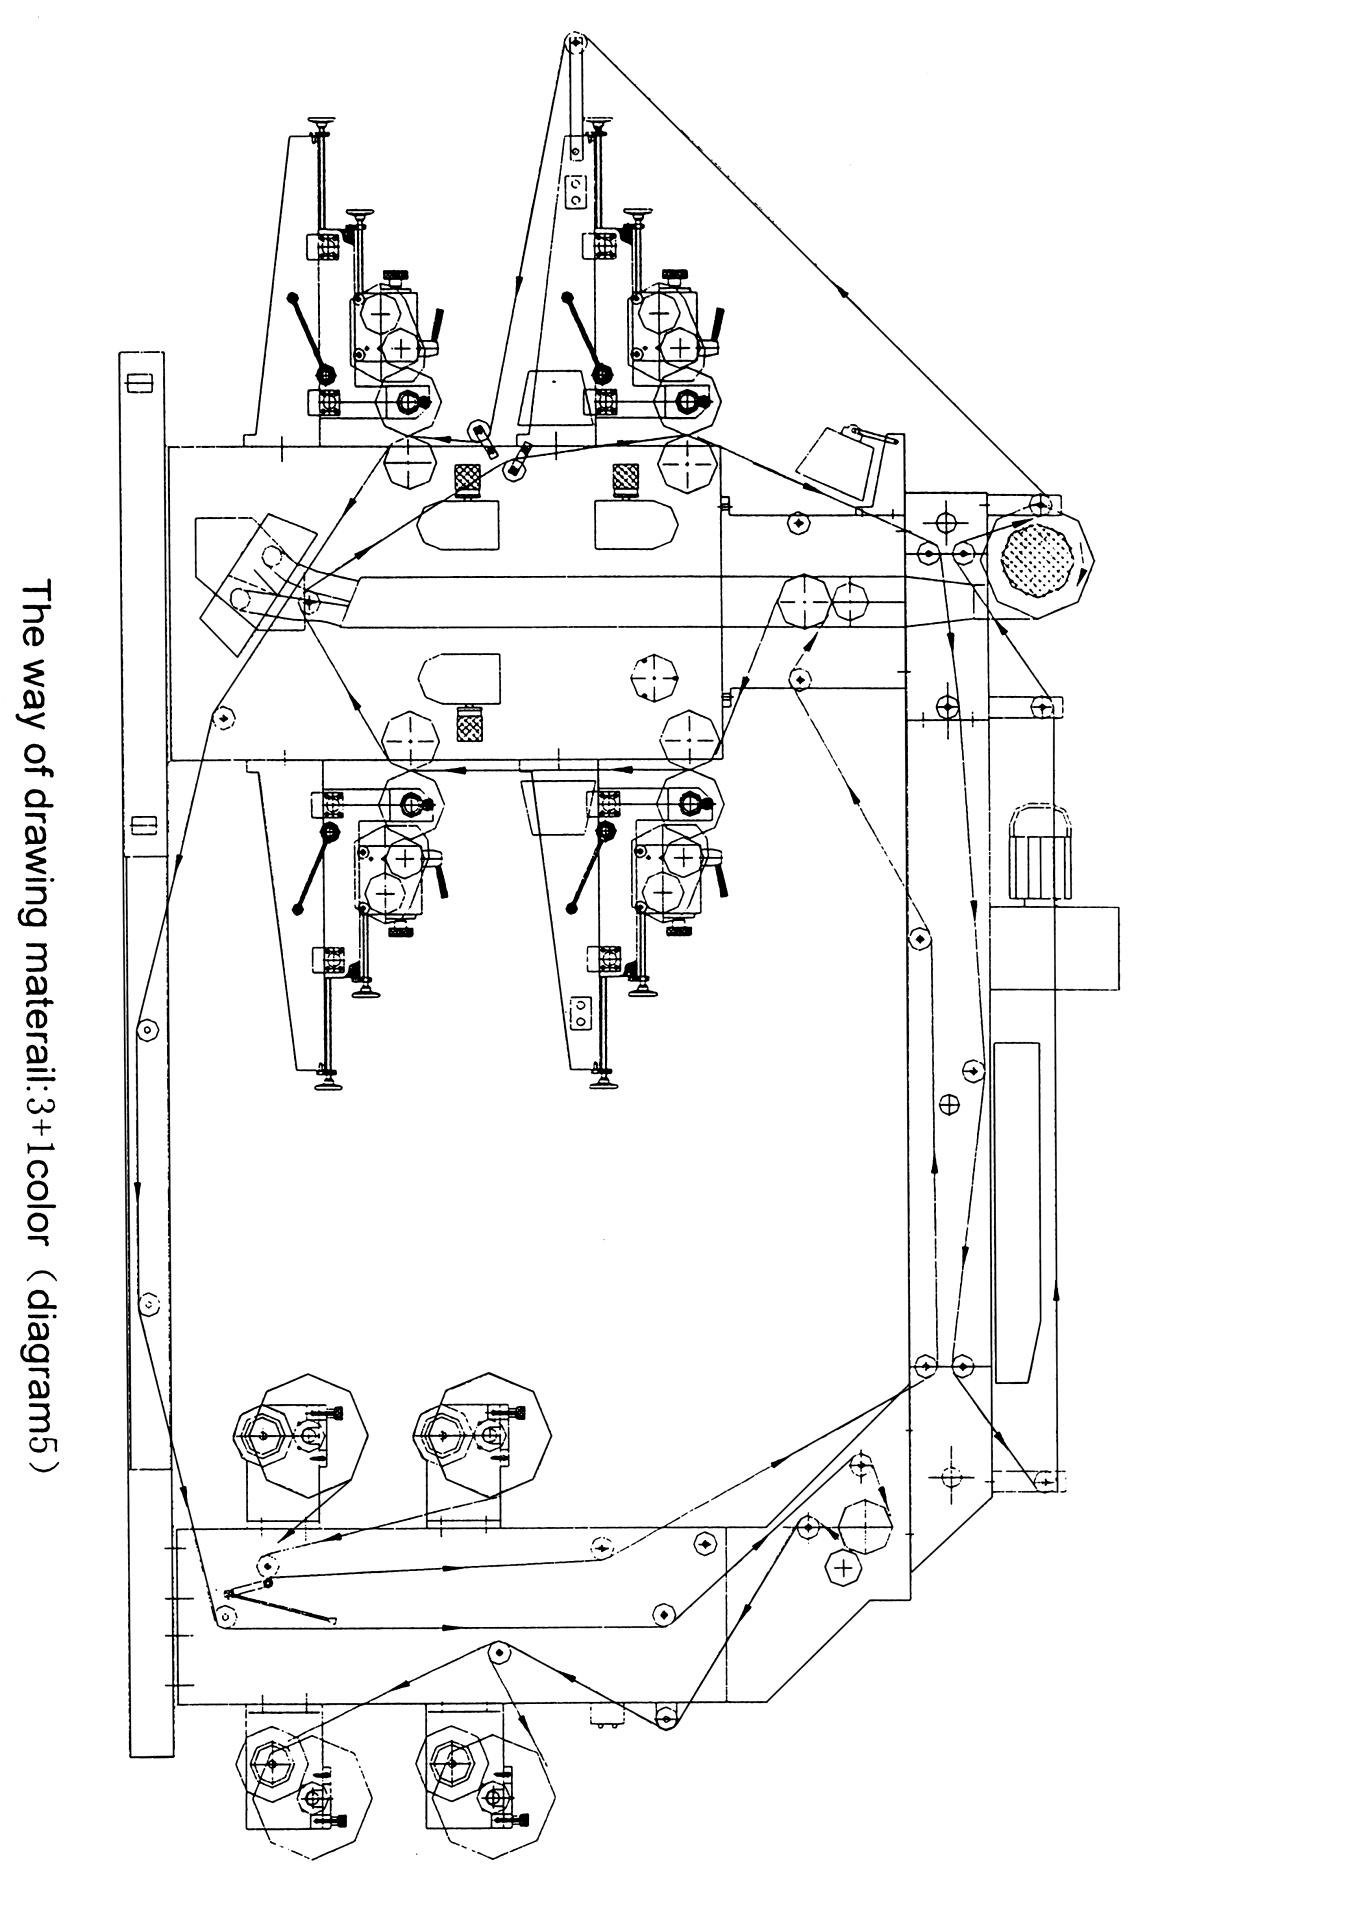
2.According to pattern diagram of coiled material’s sleeving method sleeve the printing material and then change the printing plate roller based on the lengths of printing objects.(See Diagram 3,4,5)
3. Switch off the gross power supply. The indicator light is on.
4.Start up the fan (don’t power on for heating now).
5.Start up the main motor. At the beginning, the speed should be slow. Pay attention to the pressure wheel to see if it is pressed out. Check the first color to see if the printing picture is clear; check the second color and adjust the lateral and longitudinal opposite-flower devices and make the positions of the pictures meet the printing demand; Check and adjust the third and fourth colors in turn. After all meet the demand,turn on the switch and start heating.
6.Generally accelerate the printing speed to the appropriate value. Check if the printing pictures are modified. After being correctly adjusted, tightly lock the handle of the printing cells.
7.The counter is used to calculate the numbers of the printed bags. Please preset the printing quantity so as to stop automatically after finishing printing.
8.When the coiled material is finished printing or is broken, it can stop automatically. (While starting up the machine, pay attention to this mechanism to see if it is in the working state. If it is not, the main motor cannot be started up.)
9.The printing arms for the machine’s second, third and fourth cells and the material-gathering arm are all installed a button for reset and stop. Press once is for stop, while press twice is for reset.
10.While printing, the ink should be kept on fixed thickness and don’t load too much. Otherwise, it will overflow.
11. When stopping the machine, turn the handle to raise the printing plate roller at the same time, the indicator light is on. (The four cells of rollers all must be raised, or the ink-transmitting motor cannot be started up.)Run the motor, start mixing round the printing ink, and lower the printing ink plate and cleanout the roller by the solvent.
12.If there’s any need to stop printing, the roller needs to be raised. Switch on the branch oil-transmitting motor to churn up the printing ink in order to avoid the ink’s drying up.
13.If there’s any need of printing the products with different lengths and specifications,change for different printing plate roller according to the specifications offered by our factory.
V. Maintenance & Safety Technology
1. Before running, the machine must be cleaned out the dust. All running parts should be fed with the lubricating oil once or twice and they should be fed with the yellow oil once a month.
2.When it is stopped, clean the ink plate, ink roller and the cobweb roller, lessen the pressure between the cobweb roller and the ink roller as well as the cobweb roller and the printing plate roller, and then exit the pressing printing position.
3.When it is running, don’t do the cleaning or oil feeding work.
4.The repair or regulation to the parts must be done at the moment when the machine is stopped and the general power supply is switched off.
5.The electric repairing work must follow the safety operation rules.
VI. Malfuctions and Their Settlement
| Malfunction | Reason | Settlement |
|---|---|---|
| The indicator of main power doesn’t light. | The fuse is broken. | Change |
| The voltage meter cannot display. | The voltage meter or wire is broken. | Change |
| The main motor cannot start. | The thermal relay protects | Open |
| The switch of feeding cutting is turned on. | ||
| The counter counts to certain digit. | Reset | |
| Ink transmitting motor cannot start. | The start button is broken. | Change |
| The thermal relay protects. | Open | |
| Ink transmitting fan of the main motor cannot start with current sound. | Change the phase | |
| The cacophony of driving part is too loud. | Short of lubricating oil | Add more |
| The gears of ink transmitting cannot move. | The motor rotates reversely or the clutch is broken. | Use random two of three wires of W2 of ink transmitting motor |
| Internal gears cannot move while starting the main motor | The super-far clutch of the main motor is broken. | Change the super-far clutch |
| Printing is too thick. | Ink transmitting pressure is too big. | Adjust the pressure |
| The edge of printing has two dots. | The printing roller is too tightened. | Adjust the pressure |
| Colors of the printing departure. | The tension of material feeding is not equal and the fasten gear of the plate roller is loosen. | Fasten the printing plate gear |
| Material recycling is not in order. | The tension of material recycling is not equal. | Adjust the tension of material recycling |
VII. Wiring’s Operation Instructions
1. Turn off the switch of the general power supply. The indicator light is on. Voltage meter shows the total voltage (380V). At the same time, the frequency converter has power supply. The LCD display shows F1000.00 and then press the Start button. The frequency converter prepares to start and then press Operate button, (outer-control button start), and main motor will operate normally. The frequency converter accelerates to the current operating frequency. Adjusting the potentiometer, the frequency will accelerate or lower to the speed you want. Press Stop button or (outer-control button has Stop and Start bi-function). Stopping the main motor and pressing again, it will start from the preset frequency and stop while loosing.
2.The ink transmitting motor is linked with the rising-and-falling plate. After the printing plate rollers are all lifted up, the ink transmitting motor can be started up. Meanwhile, the indicator light on the rising plate is on. Anyone of the printing rollers fall down, the ink transmitting will stop.
3.The fan can be separately operated. While finishing printing, turn off the machine after the heater is cooling.
4.The heater is linked with the fan. When the fan ceased, the heater will cut off the power automatically. The heaters in each cell all can be switched on and off separately.
5.The press counter can set the printing numbers within 1 million at will. It’ll automatically stop when it reaches the set value.
6.The machine is equipped with the stop device for material breaking. While starting up, pay attention to seeing if it is in the working state.
7.As soon as the preparation is finished, turn down the printing plate roller and then start up the main motor and turn to the proper printing speed.
VIII. Theoretical Diagram of Electrical Equipment
Fiche Technique
I. Usage and characteristics
With another saying of “Aniline Printing Press”, Flexographic Anastatic Printing Machine adopts photopolymer relief plate as its printing plate. It applies to print on the PE & PP olastic woven sacks, the cellophane and the web, etc.
It is six printing colors composing the tetragons with cascading arrange can change coiled materials’ sleeving pattern. lt applies to the patterns ,i.e. six-color printing on the redto, three-color printing on the redto and the other three-color on the verso, two-color printing on the recto and the other o four-color on the verso, five-color printing on the recto and the other one-color on the verse. The material-feeding and material-gathering mechanisms have the tension regulation devices. Each of the six printing colors has opposite-flower device with lateral regulation and 360°continuously adjustable and longitudinal opposite-flower device. The blast drying system and the blow device accelerate the drying of the ink and the discharge of the solvent. The drying box includes the parts among all color cells and the total drying part after finishing printing.
All electric operating devices are concentrated installed in the control box beside the material-gathering rack, which operates conveniently, safely and reliably safe and reliable as well. There’re reset and stop buttons fixed on the pedestal of the six-color printing plate rollers, which is convenient for operating the machine when installing the plates. The main motor, adopting electromagnetic speed-regulation asynchronous motor with stepless speed-regulation, applies to the demands for various printing speeds. Its characteristics are as follows:
- 1.Operating conveniently, starting up mildly and registering color precisely;
- 2.The counter can be set for the printing quantity according to the demands. It also can automatically stop when the material is cut off or it has reached the number.
- 3.The printing plate roller is operated manually. The printing ink will churn up automatically after the roller is lifted and lowered.
- 4.With the cobweb roller transmitting the ink, the ink color is even.
- 5.The reliable drying system matching the high-speed running will automatically.
II. Technical specifications
Main Technical variables
| MODEL | PRINTING WIDTH | PRINTING LENGTH | PRINTING SPEED | PLATE THICKNESS | MACHINE DIAMENSION |
|---|---|---|---|---|---|
| YT-2600 | 600mm | 180-1200 mm | 60m/min | 2.38mm | 2300×1600×2200mm |
| YT-2800 | 800mm | 180-1200 mm | 60m/min | 2.38mm | 2300×1800×2200mm |
| YT-21000 | 1000mm | 180-1200 mm | 60m/min | 2.38mm | 2300×2000×2200mm |
| YT-21200 | 1200mm | 180-1200 mm | 60m/min | 2.38mm | 2300×2200×2200mm |
| YT-4600 | 600mm | 180-1200 mm | 60m/min | 2.38mm | 4800×1600×2400mm |
| YT-4800 | 800mm | 180-1200 mm | 60m/min | 2.38mm | 4800×1800×2400mm |
| YT-41000 | 1000mm | 180-1200 mm | 60m/min | 2.38mm | 4800×2000×2400mm |
| YT-41200 | 1000mm | 180-1200 mm | 60m/min | 2.38mm | 4800×2200×2400mm |
| YT-6600 | 600mm | 180-1200 mm | 60m/min | 2.38mm | 4800×1600×2400mm |
| YT-6800 | 800mm | 180-1200 mm | 60m/min | 2.38mm | 4800×1800×2800mm |
| YT-61000 | 1000mm | 180-1200 mm | 60m/min | 2.38mm | 4800×2000×2800mm |
| YT-61200 | 1200mm | 180-1200 mm | 60m/min | 2.38mm | 4800×2200×2800mm |
III. Installation & Debugging
Before delivering, the machines must be strictly checked up and adjusted and can do the object printing according to the demand of the customers. After they’re all eligible, they can be delivered. When the customers open the box, they shall check the spare parts, the tools and equipment according to the casing bill. The machine must be put on the flat cement ground or the firm floor. Then adjust the four lateral regulation bolts, check the lateral and longitudinal levels and tighten the screws.( See Diagram 1 ) Before the trial run, eliminate the antirust oil and operate the machine manually. If there’s no abnormal noise and it runs flexibly, it can be switched on for the trial run. At this time, check whether the rotational directions of every motor and the fans are correct or not. If they’re all right, continue running for a while. After everything goes well, it can be put into production.
IV. Regulation & Operation
1. The key of operating machine is getting familiar with the functions of every mechanical part.(See next diagram)
2.According to pattern diagram of coiled material’s sleeving method sleeve the printing material and then change the printing plate roller based on the lengths of printing objects.(See Diagram 3,4,5)
3. Switch off the gross power supply. The indicator light is on.
4.Start up the fan (don’t power on for heating now).
5.Start up the main motor. At the beginning, the speed should be slow. Pay attention to the pressure wheel to see if it is pressed out. Check the first color to see if the printing picture is clear; check the second color and adjust the lateral and longitudinal opposite-flower devices and make the positions of the pictures meet the printing demand; Check and adjust the third and fourth colors in turn. After all meet the demand,turn on the switch and start heating.
6.Generally accelerate the printing speed to the appropriate value. Check if the printing pictures are modified. After being correctly adjusted, tightly lock the handle of the printing cells.
7.The counter is used to calculate the numbers of the printed bags. Please preset the printing quantity so as to stop automatically after finishing printing.
8.When the coiled material is finished printing or is broken, it can stop automatically. (While starting up the machine, pay attention to this mechanism to see if it is in the working state. If it is not, the main motor cannot be started up.)
9.The printing arms for the machine’s second, third and fourth cells and the material-gathering arm are all installed a button for reset and stop. Press once is for stop, while press twice is for reset.
10.While printing, the ink should be kept on fixed thickness and don’t load too much. Otherwise, it will overflow.
11. When stopping the machine, turn the handle to raise the printing plate roller at the same time, the indicator light is on. (The four cells of rollers all must be raised, or the ink-transmitting motor cannot be started up.)Run the motor, start mixing round the printing ink, and lower the printing ink plate and cleanout the roller by the solvent.
12.If there’s any need to stop printing, the roller needs to be raised. Switch on the branch oil-transmitting motor to churn up the printing ink in order to avoid the ink’s drying up.
13.If there’s any need of printing the products with different lengths and specifications,change for different printing plate roller according to the specifications offered by our factory.
V. Maintenance & Safety Technology
1. Before running, the machine must be cleaned out the dust. All running parts should be fed with the lubricating oil once or twice and they should be fed with the yellow oil once a month.
2.When it is stopped, clean the ink plate, ink roller and the cobweb roller, lessen the pressure between the cobweb roller and the ink roller as well as the cobweb roller and the printing plate roller, and then exit the pressing printing position.
3.When it is running, don’t do the cleaning or oil feeding work.
4.The repair or regulation to the parts must be done at the moment when the machine is stopped and the general power supply is switched off.
5.The electric repairing work must follow the safety operation rules.
VI. Malfuctions and Their Settlement
| Malfunction | Reason | Settlement |
|---|---|---|
| The indicator of main power doesn’t light. | The fuse is broken. | Change |
| The voltage meter cannot display. | The voltage meter or wire is broken. | Change |
| The main motor cannot start. | The thermal relay protects | Open |
| The switch of feeding cutting is turned on. | ||
| The counter counts to certain digit. | Reset | |
| Ink transmitting motor cannot start. | The start button is broken. | Change |
| The thermal relay protects. | Open | |
| Ink transmitting fan of the main motor cannot start with current sound. | Change the phase | |
| The cacophony of driving part is too loud. | Short of lubricating oil | Add more |
| The gears of ink transmitting cannot move. | The motor rotates reversely or the clutch is broken. | Use random two of three wires of W2 of ink transmitting motor |
| Internal gears cannot move while starting the main motor | The super-far clutch of the main motor is broken. | Change the super-far clutch |
| Printing is too thick. | Ink transmitting pressure is too big. | Adjust the pressure |
| The edge of printing has two dots. | The printing roller is too tightened. | Adjust the pressure |
| Colors of the printing departure. | The tension of material feeding is not equal and the fasten gear of the plate roller is loosen. | Fasten the printing plate gear |
| Material recycling is not in order. | The tension of material recycling is not equal. | Adjust the tension of material recycling |
VII. Wiring’s Operation Instructions
1. Turn off the switch of the general power supply. The indicator light is on. Voltage meter shows the total voltage (380V). At the same time, the frequency converter has power supply. The LCD display shows F1000.00 and then press the Start button. The frequency converter prepares to start and then press Operate button, (outer-control button start), and main motor will operate normally. The frequency converter accelerates to the current operating frequency. Adjusting the potentiometer, the frequency will accelerate or lower to the speed you want. Press Stop button or (outer-control button has Stop and Start bi-function). Stopping the main motor and pressing again, it will start from the preset frequency and stop while loosing.
2.The ink transmitting motor is linked with the rising-and-falling plate. After the printing plate rollers are all lifted up, the ink transmitting motor can be started up. Meanwhile, the indicator light on the rising plate is on. Anyone of the printing rollers fall down, the ink transmitting will stop.
3.The fan can be separately operated. While finishing printing, turn off the machine after the heater is cooling.
4.The heater is linked with the fan. When the fan ceased, the heater will cut off the power automatically. The heaters in each cell all can be switched on and off separately.
5.The press counter can set the printing numbers within 1 million at will. It’ll automatically stop when it reaches the set value.
6.The machine is equipped with the stop device for material breaking. While starting up, pay attention to seeing if it is in the working state.
7.As soon as the preparation is finished, turn down the printing plate roller and then start up the main motor and turn to the proper printing speed.
VIII. Theoretical Diagram of Electrical Equipment
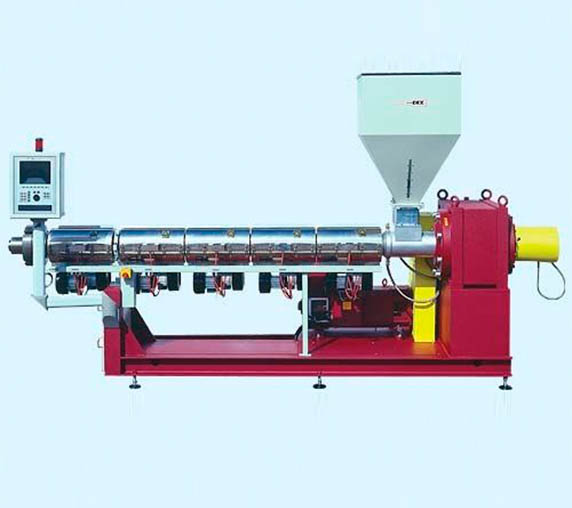
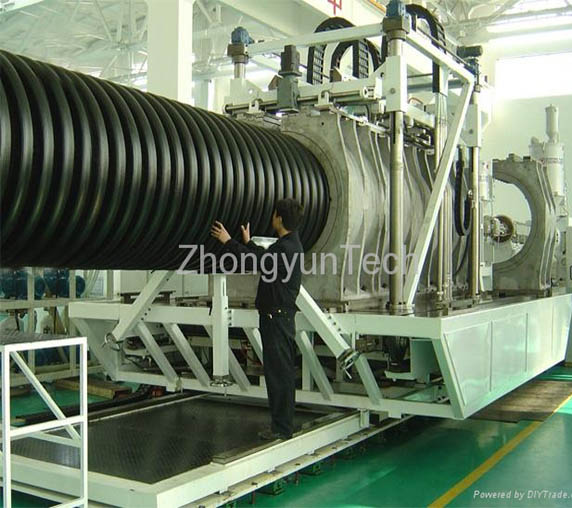
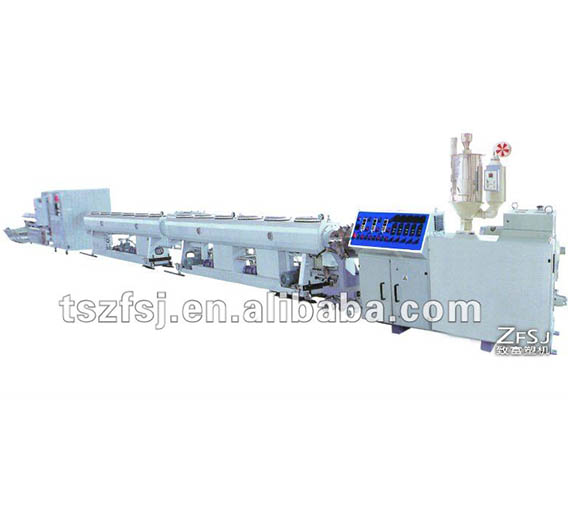
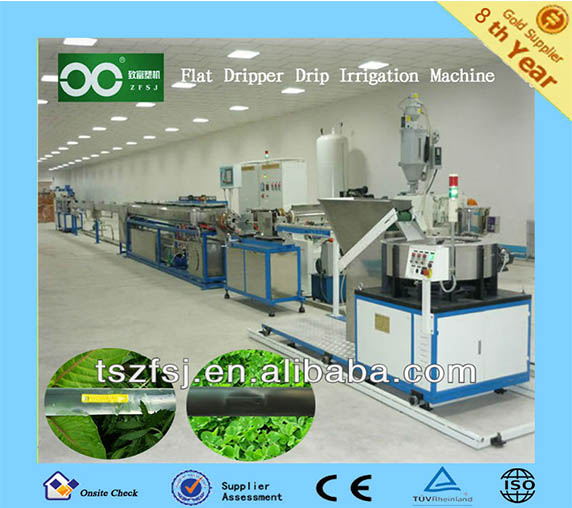
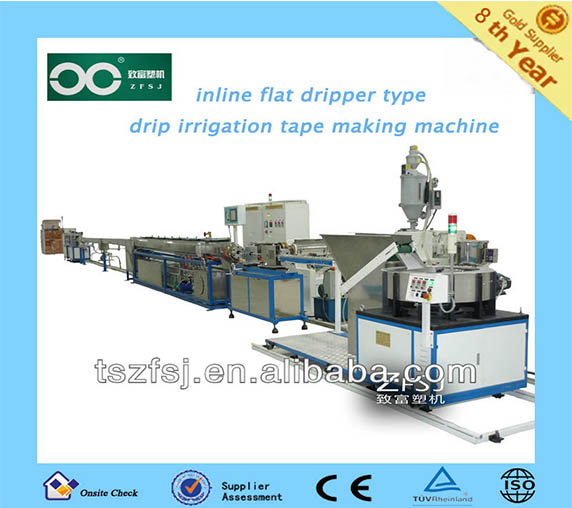
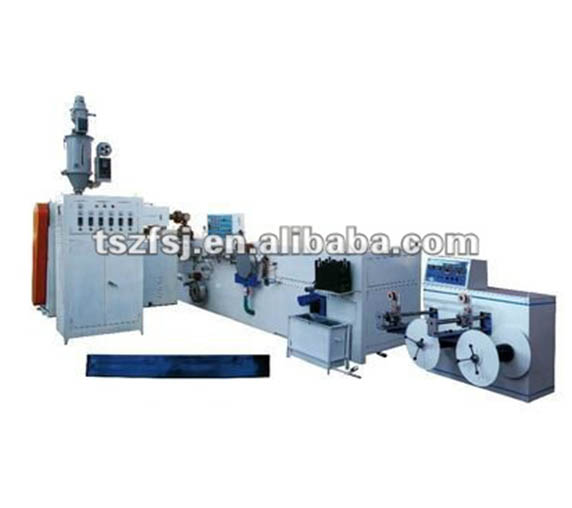
